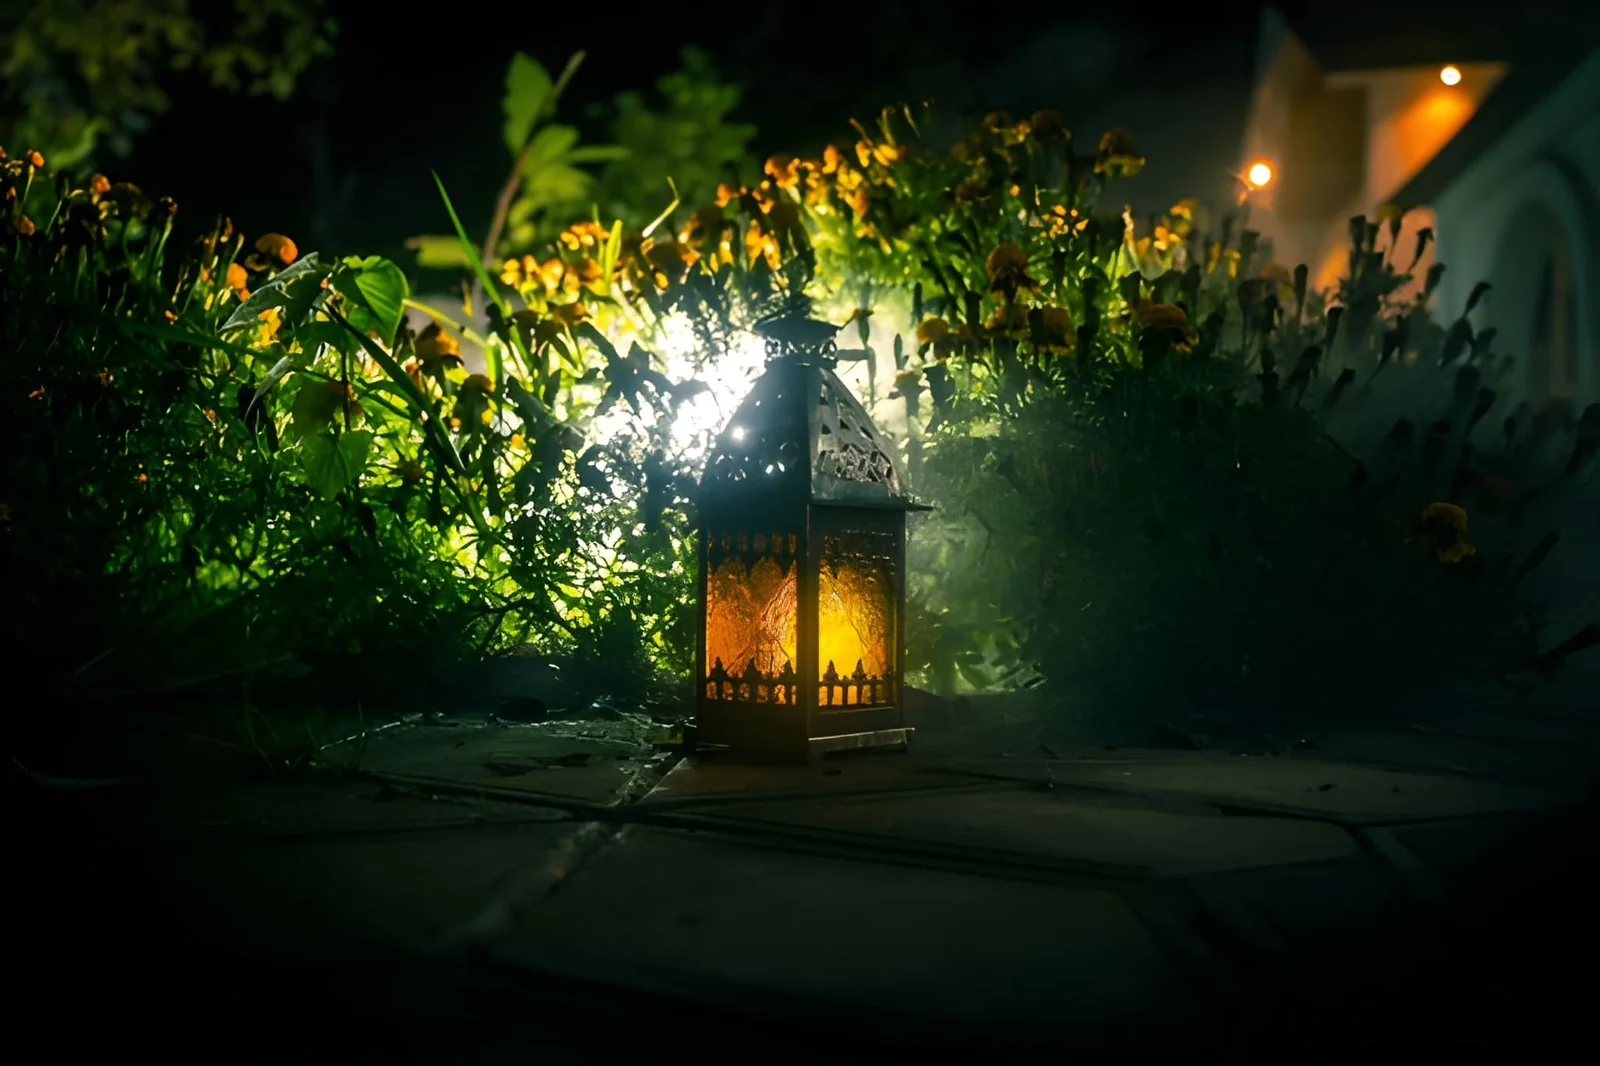
How Can Outdoor Lanterns Enhance a Garden?
A garden spends half its life in the dark, yet most are designed only for daylight. At sunset the lawn disappears, the borders go flat, and the patio turns into a black rectangle you glance at through the window. A bright floodlight fixes visibility but ruins the mood. So how can outdoor lanterns enhance a garden without turning it into a car park?
Lanterns work because they give light a shape and a place. Each one makes a small glow, and several together mark paths, edges, and seating so the garden still feels like a garden at night. This article explains how to use them well. You will find a quick answer, a three-height method, a table of light types, a spacing guide, a placement chart, a materials section, a safety checklist, and the mistakes that leave a garden patchy or glaring. It suits balconies, patios, and large plots. Read the quick answer first, then use the sections that fit your space.
How Can Outdoor Lanterns Enhance a Garden?
Outdoor lanterns enhance a garden by adding warm, low light that marks paths, frames seating, and highlights planting. They create layers of glow at different heights, so the space feels deeper and calmer after dark. Their style also adds character by day, acting as sculpture among the plants.
The Three-Height Method
A garden lit at one height looks flat. Use three levels instead.
| Height | Role | Examples |
|---|---|---|
| Ground | Guides movement, marks edges | Small lanterns along paths and steps |
| Table or seat height | Creates a cozy pool of light | Lanterns on tables, walls, or low stands |
| Overhead | Adds depth and sparkle | Hanging lanterns from branches, pergolas, or hooks |
Aim to have at least two levels visible from where people sit. A path lantern alone feels functional, while adding a hanging one above makes the garden feel designed.
Choosing the Light Source
| Light type | Look | Practical note |
|---|---|---|
| Real candle | Flickering, warm | Needs wind protection and supervision |
| LED candle | Soft, flicker effect | Safe around children, pets, and dry plants |
| Solar LED | Easy, no wiring | Brightness depends on sun and season |
| Low-voltage wired | Reliable, steady | Needs planning and a qualified installer |
| Battery LED | Flexible placement | Replace batteries, check weatherproofing |
Choose warm light, around 2700K, since cool white makes plants look gray. If you want lanterns in a specific style, you can browse [anchor text] before you decide on materials.
Spacing and Placement Guide
These are common planning guidelines, so adjust for your garden.
| Location | Typical guideline |
|---|---|
| Path | One lantern every 5 to 8 feet, staggered on alternate sides |
| Steps | One at the top and bottom, more on long flights |
| Dining table | Group of three, varied heights |
| Wall or fence | Spaced about 6 to 10 feet apart |
| Focal planting | One lantern near a specimen, not on top of it |
| Hanging lanterns | Above head height, clear of foliage |
Staggering looks more natural than lining up lanterns like runway lights. Leave dark areas on purpose, since contrast makes lit areas feel brighter.
Materials and Weather
| Material | Look | Care note |
|---|---|---|
| Powder-coated metal | Clean, long-lasting | Check for chips that lead to rust |
| Copper or brass | Develops a patina | Ages well, may stain stone |
| Wood | Warm, rustic | Needs sealing, avoid constant damp |
| Glass panels | Clear light | Use tempered or shatter-resistant glass |
| Rattan or woven | Soft, bohemian | Choose weather-resistant synthetic versions |
Look for drainage holes and sealed electrics. In windy gardens, choose heavier lanterns or secure them with hooks, since light ones can blow over and break.
A Simple Planning Method
- Walk the garden at dusk. Note where you need light and where you want mood.
- Choose a goal for each zone. Path, seating, or focal planting.
- Mark the spots. Use stakes or chalk before you buy.
- Pick a consistent style. Repeat one or two materials.
- Test at night. Move lanterns until glare disappears.
- Add layers over time. Start with the main path and seating, then expand.
Safety and Practical Checks
Keep real flames away from dry grass, hedges, wooden furniture, and overhanging branches, and never leave them unattended. LED versions suit homes with children or pets. Wired systems should be installed by a qualified person, using outdoor-rated cables and connectors. Check that steps are lit well enough to prevent trips, and tuck cables out of walking routes. Avoid shining lights into neighbors’ windows. Local rules may limit outdoor lighting in some areas, so check before large installations.
Mistakes That Make a Garden Look Patchy
The most common mistake is placing outdoor lanterns evenly in a straight line, which looks like an airport runway. Another is too much light, which erases the soft effect. Using cool white bulbs is a third error, since they flatten greenery. Mismatched styles clutter the look, so keep to one theme. Forgetting maintenance also hurts: dirty glass and dead batteries dim the glow. Finally, avoid hiding all light in one area. A garden needs a few connected pools of light so you can move through it.
FAQ
How many lanterns do I need?
It depends on the size. A small patio may need three to five, while a long path needs more.
Are solar lanterns good enough?
They work well in sunny areas, but they dim in winter or shade.
Can I leave lanterns out all year?
Weatherproof ones can stay out. Bring in fabric, paper, or delicate models during storms and freezing weather.
Are outdoor lanterns safe with real candles?
Yes, with care. Use stable holders, keep them away from plants, and never leave flames unattended.
Bottom Line
Outdoor lanterns enhance a garden by layering warm light at three heights, marking paths and seating, and giving structure after dark. Plan the zones, stagger the spacing, choose a safe light source, and test at night. A few well-placed glows change how the whole garden feels.
Must visit https://tipsbydecoratoradvice.com/ for outdoor lanterns ideas.

Post Comment